

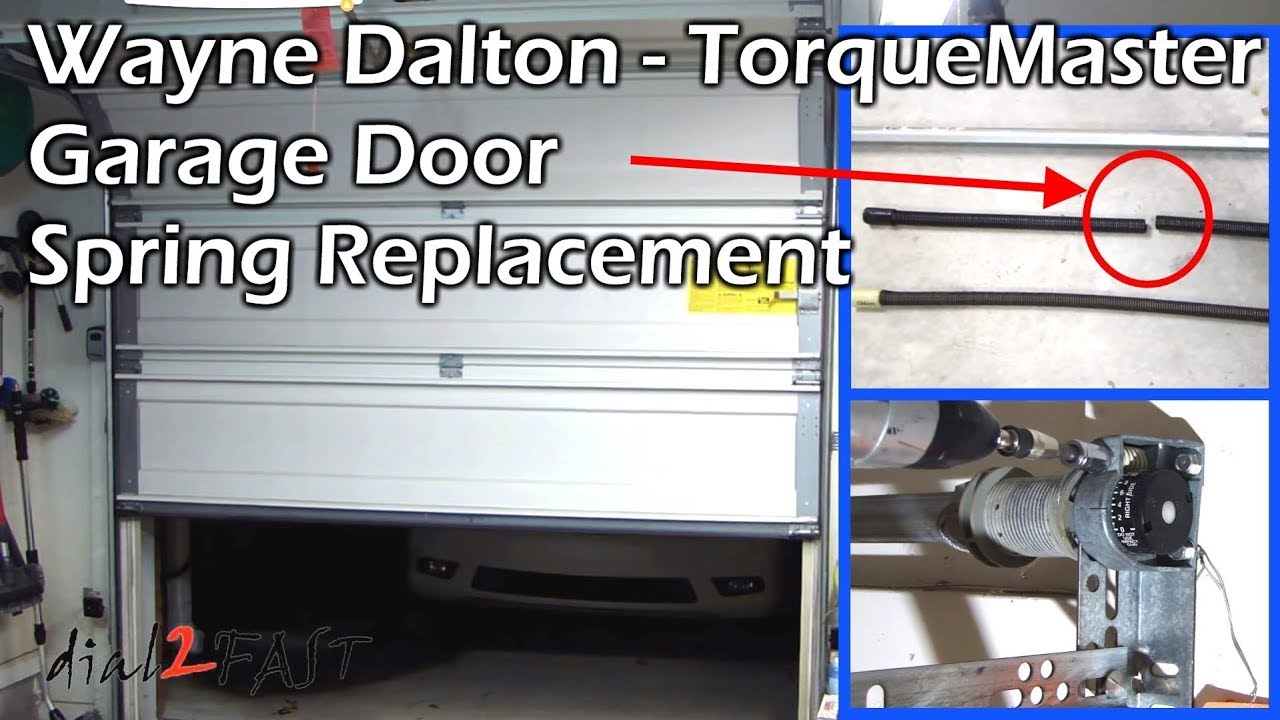
As a garage door technician with over a decade of experience, I've encountered countless homeowners struggling with Wayne Dalton Torquemaster springs. These unique components represent both innovation and challenges in garage door operation. I remember my first Torquemaster replacement job - what initially seemed daunting turned out to be a valuable learning experience that shaped my understanding of these specialized systems.
Understanding Your Torquemaster Springs
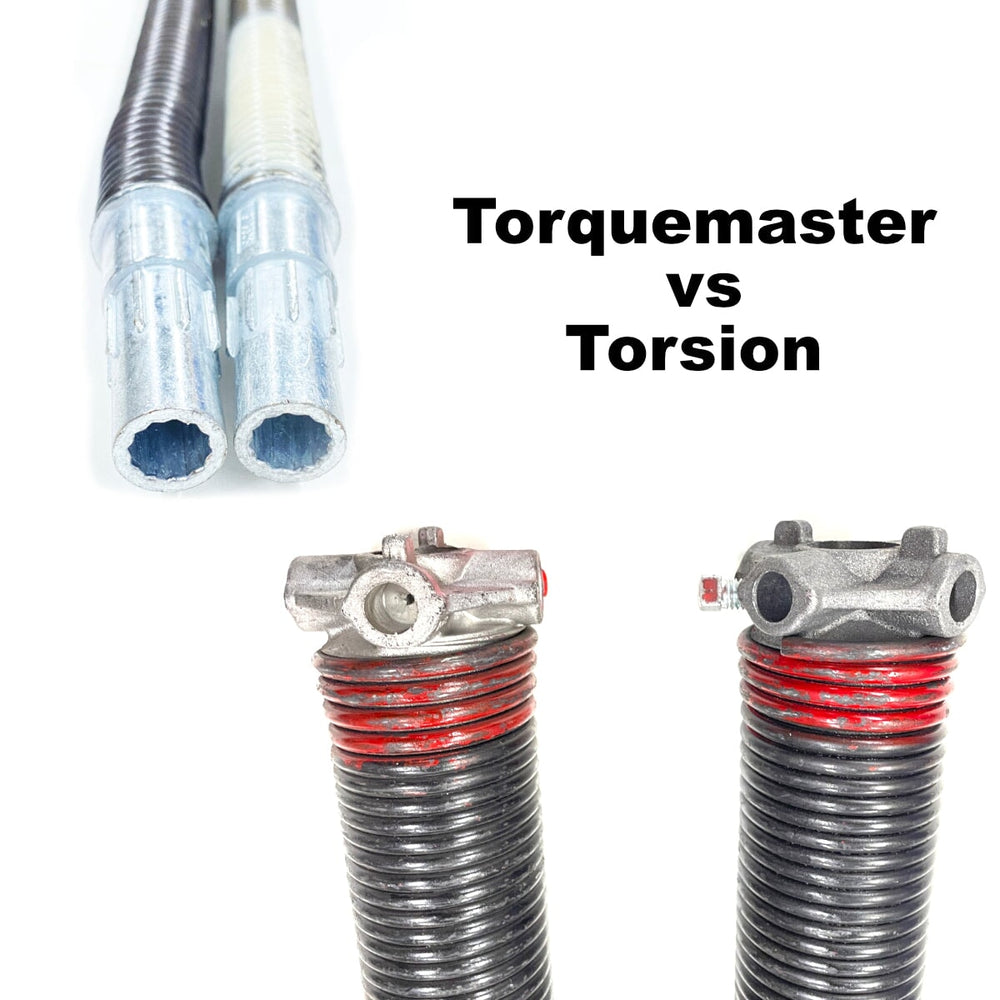
Wayne Dalton Torquemaster springs are engineered differently from traditional torsion springs. The system houses the springs within a steel tube, creating a safer, more streamlined appearance. The newer Torquemaster Plus models utilize ASTM A228 music wire with a 0.143-inch wire diameter and 0.650-inch interior diameter, offering approximately 40% longer life than their predecessors.
Last month, I visited a homeowner who was concerned about unusual noises coming from their garage door. Upon inspection, the telltale signs of failing Torquemaster springs were evident. The most common indicators include unusual noises during operation, difficulty opening or closing the door, loose cables on single-car doors, and a noticeably heavier door movement. These symptoms typically appear as the springs approach their expected lifespan of about 10,000 cycles or 6-7 years of normal use.
Safety First: Critical Precautions
Before attempting any work with Torquemaster springs, safety must be your primary concern. Always relieve spring tension before removing hardware, wear protective gear (especially heavy-duty gloves), and ensure you're using appropriately sized tools. I've seen the consequences of rushed jobs and inadequate safety measures - it's simply not worth the risk.
The Replacement Process
The replacement process requires careful attention to detail. For original Torquemaster systems, you'll need a drill with a 7/16" nut driver, while Torquemaster Plus systems require a ratchet winder with a 5/8" socket. Begin by unwinding the old spring counterclockwise until the alignment marks match. Remove the counter gear and assembly, followed by the end bracket components.
When installing the new spring, insert it carefully into the torque tube, reattach the end bracket and drive gear, and ensure proper alignment of the cable drum and winding shaft. The winding process requires precise attention - the number of turns varies based on your door's height, typically requiring 14 turns for a 6-foot door.
Performance and Customer Experiences
Through years of installations and customer feedback, I've observed mixed reactions to Torquemaster systems. While many appreciate the clean, enclosed design and enhanced safety features, others express concerns about parts availability and diagnostic challenges. One memorable client switched to traditional torsion springs after struggling with repeated Torquemaster issues, finding the conventional system more reliable for their heavy-use garage.
Where to Purchase and Professional Services
Quality Torquemaster springs can be purchased through authorized online retailers like Express Garage Doors or local hardware stores carrying Wayne Dalton products. Always verify your door's specifications - height, weight, and model number - before ordering. Professional installation typically ranges from $100-$300, not including parts, but offers peace of mind through expertise and warranty coverage.
Alternative Options
While Torquemaster springs serve many garages effectively, traditional torsion springs present a viable alternative. These systems offer wider parts availability, generally longer lifespans, and often prove more cost-effective long-term. I've helped numerous homeowners transition to torsion springs, particularly in cases where Torquemaster replacement parts proved difficult to source.

Making an Informed Decision
Whether maintaining your Torquemaster system or converting to traditional springs, consider your specific situation carefully. Factor in your system's age, budget constraints, DIY expertise, and local parts availability. Regular maintenance remains crucial - I've seen well-maintained Torquemaster systems last well beyond their expected lifespan.
For most homeowners, professional installation represents the safest and most reliable option. The complexity of spring systems, combined with potential safety risks, often justifies the additional cost of professional service. Remember, proper installation and maintenance not only ensure safe operation but can significantly extend your garage door system's life expectancy.
Through proper understanding, careful maintenance, and timely attention to warning signs, your garage door spring system can provide years of reliable service. When in doubt, always consult with a qualified professional to ensure your garage door operates safely and efficiently.